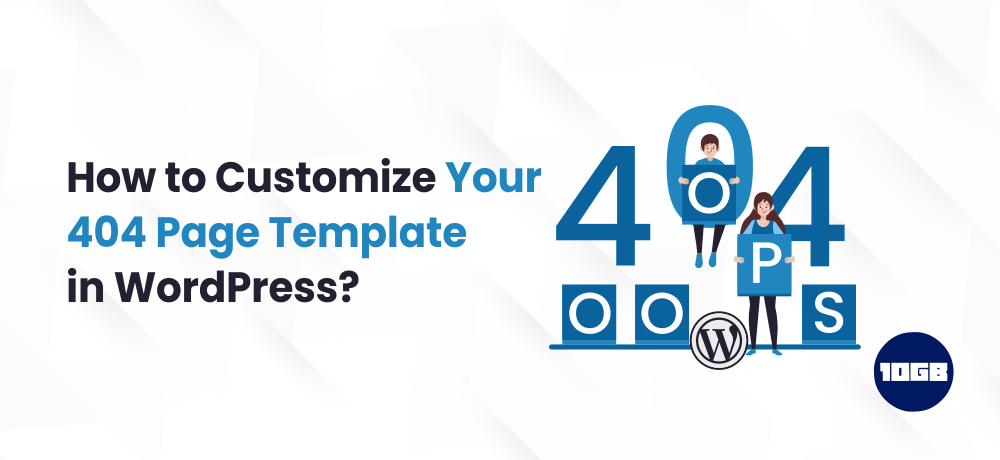
Are you looking to customize your 404 page template in WordPress?
Enhancing the default WordPress 404 page can allow you to create a better user experience, reduce bounce rate and boost page views.
In this blog post, we will explain to you how to customize your 404 page template in WordPress
Table of Contents
Why Customize Your 404 Page Template in WordPress?
Whatsoever the reason may be for your website’s 404 page error, the majority of your site visitors who see the default WordPress 404 page will leave the very next second.
Due to this, the bounce rate will increase, create a poor user experience, and additionally can affect your search engine rankings.
By customizing your WordPress 404 page, you can send visitors to popular posts and thereby increase pageviews and minimize bounce rate. Hence, convert your one-time site visitors to long-term readers and clients.
Whenever a visitor stays on your website for longer times, the chances are high that they do make purchases read more posts, join your email list, etc.
Additionally, it can enhance your WordPress SEO and help you gain more organic traffic to your website.
Note: It’s of utmost importance that you customize your 404 page template in WordPress.
For further details, you can read our article on “how to redirect your 404 page to home page in WordPress“.
Suggested for Further Reading:
Having said that, let’s discuss how you can improve your 404 page template in WordPress.
Create a Customized 404 Page in WordPress Without Code
The ideal most beginner-friendly method of customizing your 404 page template is using the SeedProd page builder plugin.
SeedProd is the best landing page builder for WordPress. It allows you to create, edit and customize your WordPress pages without having to write even a single line of code.
Meanwhile, you can read our article on “Tips to improve landing page performance of WordPress site“.
Having this plugin, you can craft a custom 404 page with the help of included 404 page templates.
The first and foremost thing you need to do is install the SeedProd plugin.
For further details, read our step-by-step guide on how to install a WordPress plugin.
We will be using the pro version of the SeedProd plugin as it has the 404 page templates we need.
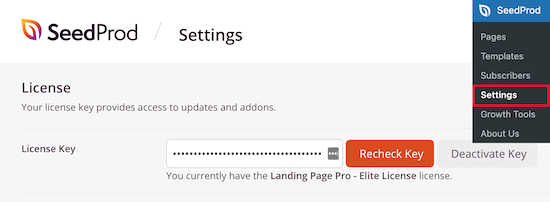
On activating the plugin, you need to head on to SeedProd » Settings and enter your license key. You can find this information on your account page on the SeedProd website.
Next, navigate to SeedProd » Pages and click the ‘Set up a 404 Page’ button in the ‘404 Page’ meta box.
This will take you to the page where you can choose your 404 page template.
You can find a plethora of professionally designed 404 page templates you can pick to begin with.
To pick a template, just hover it and then click on the ‘Checkmark’ icon. In this tutorial, we are utilizing the ‘Oh No 404 Page’ template, however, you can use any of the templates you prefer that is ideal for your site.
On picking the template, you will see a drag and drop builder where you can begin to customize your 404 page.
You’ll discover blocks and sections that you can add to your 404 page on the left side of the screen. The right side of the page is the live preview. Every element on the page can be edited and customized.
The first and foremost thing we are going to do is add the text and explain to users what we are going to do next. Rather than just landing on a 404 page and exiting, you can redirect your visitors towards valuable content and the next actions to take.
To do so, simply drag the Text block onto your page and click on it to change the text.
Then, we will proceed to change the link of the home page button to a valuable content piece.
This valuable content piece can be the blog post that brings you the most revenue.
Firstly, drag over the headline block and add your new headline.
Secondly, drag over another ‘Text’ block and enter some text that defines your article.
Lastly, click on the button to bring up the button editor screen.
In the button editor screen, you can easily customize the text, color, size, and more.
Add a Contact Form to Your WordPress 404 page
You can even add a contact form to your WordPress 404 page. You can do so by using the WPForms plugin. It’s one of the finest contact form plugins for WordPress that is utilized by more than 4 million sites on the internet.
On activating the plugin and setting it up, you can easily drag the ‘Contact Form’ block to your page.
Then, choose your contact form from the drop-down list.
You need to build your contact form initially before you are able to add it to your 404 page.
Additionally, you can add a Headline or Text block above your contact form.
To add the blocks, follow the similar steps as above.
On doing the changes ensure that you click the save button to store your changes and click publish.
You can further alter the logo and navigation menu by simply clicking on them and make necessary changes within the panel on the left, then following the same editing process as mentioned above.
You have the freedom to customize your page, by adding new blocks and testing various layouts to determine what your visitors prefer.
To enable your new 404 page, go to SeedProd » Pages and then set the ‘404 Page’ toggle to ‘Active’.
Now, your visitors will be seeing a high converting 404 page rather than just the default choice.
Conclusion
Moreover, If you wish to enjoy the deluxe WordPress experience then you can choose managed WordPress hosting.